
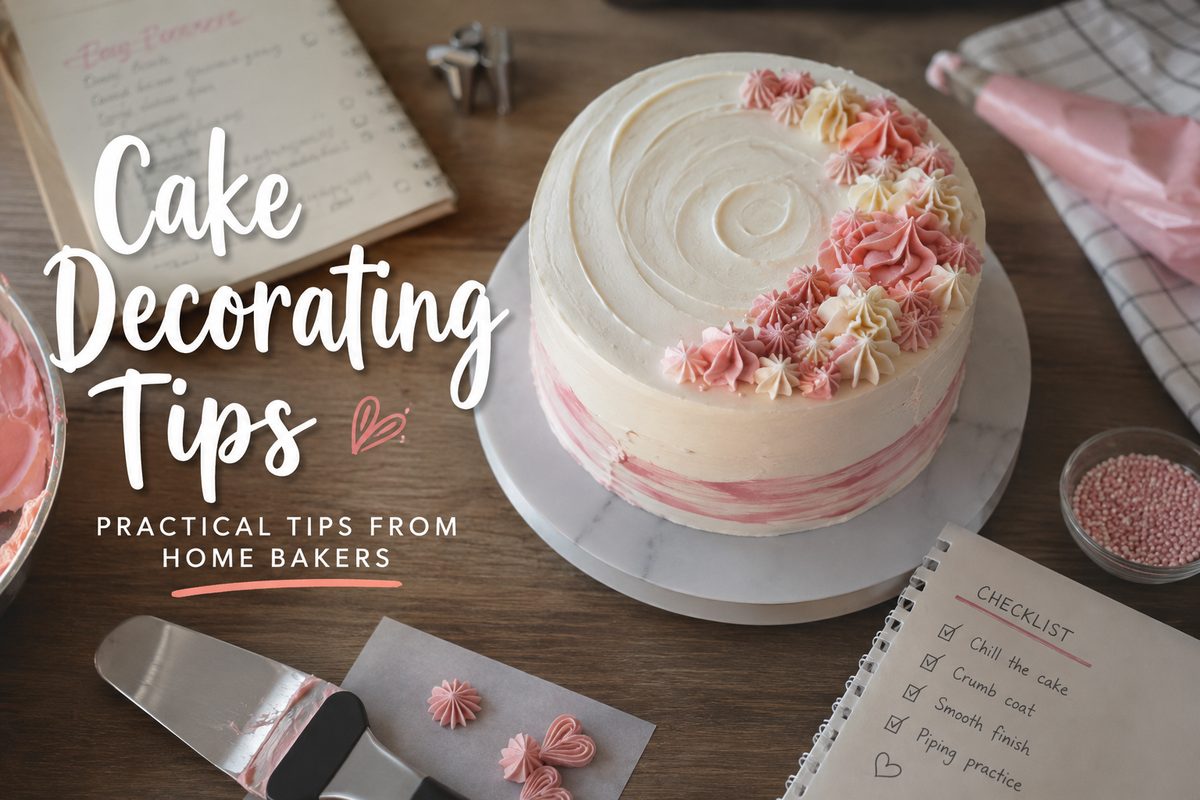
There is a stage every home baker reaches. Your cake tastes great. Your sponge is soft. Your filling is delicious. But then you look at the finished cake and think: "Why doesn't mine look like the cakes I see online?"
The frustrating part is that the answer usually isn't "You need better decorating skills." After going through countless discussions between home bakers and cake decorators, one thing becomes clear: beautiful cake decorating is less about having dozens of tools and more about getting a few fundamentals right.
The cake needs to be at the right temperature. The buttercream needs the right consistency. Your piping pressure needs to be controlled. And, perhaps most importantly, you need to give yourself enough time to fix small mistakes. Here are the cake decorating lessons that experienced home bakers repeatedly recommend.
1. Don't decorate a warm cake
This sounds obvious, but it is one of the easiest mistakes to make when you're working against an order deadline. If your cake is still warm, buttercream can soften, slide and become difficult to smooth. Detailed piping becomes even harder because the frosting doesn't hold its shape properly.
Experienced bakers repeatedly recommend working with a properly chilled cake, particularly when doing detailed decoration. A simple workflow is:
🧊 Bake → Cool completely → Fill → Chill → Crumb coat → Chill → Final coat → Decorate
You don't necessarily need to freeze every cake. For many decorating jobs, a well-chilled cake is enough. And there's another advantage: cold buttercream is easier to correct. If you make a mistake while piping, you have a much better chance of removing the decoration cleanly and trying again.
Home baker tip
If your cake is fighting you, don't immediately change your recipe. Check the temperature first. Sometimes the cake isn't the problem — it's simply too warm.
2. The crumb coat is not optional
If you want clean-looking cakes, learn to love the crumb coat. A crumb coat is a thin layer of frosting applied around the cake to trap loose crumbs before the final layer of buttercream goes on. It doesn't need to look beautiful — its job is simply to create a clean surface. Think of it as the primer coat of cake decorating.
The basic method
- Place your chilled cake on the turntable.
- Apply a thin layer of buttercream.
- Push the buttercream into gaps between the layers.
- Scrape away excess frosting.
- Chill the cake until the coating firms up.
- Apply your final layer.
Don't worry if you can still see cake through the crumb coat. That's exactly what you want.
3. Buttercream consistency matters more than your piping tip
One of the most useful lessons from cake decorating discussions is that decorators often focus too much on the piping nozzle. The nozzle matters — but the consistency of your buttercream matters more.
If the buttercream is too soft:
- Piped shapes collapse.
- Shells lose definition.
- Flowers won't hold their petals.
- Borders look uneven.
If it's too stiff:
- Your hand gets tired.
- Piping becomes difficult.
- The frosting can look rough.
- Fine details become harder to create.
Experienced decorators commonly describe using different consistencies depending on the job — such as spreading, piping borders, or creating flowers. So instead of asking "Which piping tip should I buy?", start asking "Is my buttercream the right consistency for this decoration?" That question will save you a lot of frustration.
4. Stop over-whipping your buttercream
Beautifully smooth buttercream isn't just about the recipe — it's also about how you mix it. One recurring problem discussed by bakers is air bubbles in buttercream. Excess air can create tiny holes and rough edges when the frosting is spread or piped.
A useful finishing step is to work the buttercream gently with a spatula after whipping. Instead of aggressively beating it again, slowly stir or press the buttercream against the side of the bowl to help release trapped air. This is especially useful before:
- Smooth side coating
- Sharp edges
- Lettering
- Fine piping
- Buttercream transfers
💡 Remember: more whipping does not automatically mean better buttercream. Sometimes smoother buttercream comes from slowing down.
5. Learn to use your cake scraper
If you want smooth sides, a cake scraper is one of the most useful tools you can own. But the scraper itself doesn't create the smooth finish — your technique does.
Apply enough buttercream to cover the cake completely. Hold the scraper against the side and rotate the turntable while keeping your scraper relatively steady. The goal isn't to scrape everything off in one pass. Instead:
🌀 Apply → Scrape → Fill gaps → Scrape again
If you keep scraping a section that has too little frosting, you'll eventually expose the cake. Add more buttercream and start again. Some decorators also recommend finishing with a slightly warmed metal scraper to help eliminate small imperfections.
6. A warm spatula can be your best friend
Trying to get a smooth finish with a completely dry, cold spatula can be frustrating. For buttercream that responds well to heat, decorators often use a spatula warmed with hot water, then wiped dry, to gently smooth the surface. The key is warm, not wet.
Dip the spatula in warm water. Dry it thoroughly. Then gently glide it across the frosting. You're not trying to melt the buttercream — you're simply using a little heat to help smooth the surface.
7. Don't fill your piping bag too much
A piping bag that's packed completely full looks convenient. It isn't. A smaller amount gives you much better control. Too much frosting can make the bag difficult to hold and increase hand fatigue. Beginners also tend to struggle with frosting spilling out of the top.
A larger piping bag can be easier to work with, but the important part is still the same: don't overfill it. Fill the bag to a manageable level, twist the top, and keep consistent pressure with your dominant hand.
8. Piping is about pressure — not just movement
This is one of the biggest differences between beginner piping and experienced piping. Beginners often concentrate on moving the piping tip. Experienced decorators concentrate on pressure. For a simple shell, for example:
- Start squeezing.
- Allow the frosting to build.
- Reduce pressure.
- Pull away.
You don't need to dramatically move the piping tip. Excessive movement can turn shells into wavy "wiggle" shapes; controlling pressure and allowing the shape to form produces cleaner shells. This is a small technique change that can make a surprisingly big difference.
Love the craft? Keep the business side effortless.
As your decorating gets sharper, the orders start rolling in. HomeBakely helps home bakers capture every order, delivery date, and payment in one place — so you can spend your energy on the cake, not the admin.
9. Practice piping without sacrificing an entire cake
You don't need to bake a new cake every time you want to practice. This is one of the most practical ideas from the decorating community. Use:
- Parchment paper
- An upside-down cake tin
- A reusable dummy cake
- A practice board
Pipe your designs. Scrape the buttercream back into a bowl. Rework it if the frosting remains suitable for reuse. Then practice again.
Try this exercise
Take one piping tip and spend 10 minutes making: 10 shells → 10 rosettes → 10 stars → 10 borders. Don't aim for perfection — aim for consistency. Your tenth attempt should look more controlled than your first.
10. Start with a small set of piping tips
You don't need a box containing 50 different nozzles. A few versatile tips can take you surprisingly far. A practical beginner collection might include:
- Round tip — dots, writing and simple lines
- Star tip — stars, shells and rosettes
- Petal tip — flowers and petals
- Grass tip — grass and textured effects
Start with a small selection rather than buying an enormous collection immediately. The goal isn't to own every decorating tool — it's to understand what the tools you already have can do.
11. Don't assume every decoration needs a different buttercream
Another common beginner question is whether you need one buttercream for filling, another for coating and another for piping. The answer is not necessarily. A well-made buttercream can often be used for multiple jobs. What matters is whether its consistency is appropriate for the technique you're using. For example, you may want:
- A softer consistency for filling
- A medium consistency for coating
- A firmer consistency for detailed piping
But you don't always need completely different recipes. Sometimes you simply need to adjust the consistency.
12. If your kitchen is warm, work in smaller batches
This is particularly relevant for home bakers. When the room gets warm, buttercream behaves differently. Your beautifully firm piping can suddenly become soft halfway through decorating. Instead of fighting it for an hour, work strategically. Keep unused buttercream covered. Decorate in smaller batches. Chill the cake when necessary.
And if your piping starts losing definition, stop and cool the frosting. Don't keep piping and hope it magically fixes itself. Temperature is effectively another ingredient in cake decorating — the combination of a cool cake, workable frosting and a moderate working environment is important for consistent results.
13. Don't chase perfect cakes too early
This may be the most important lesson of all. A recurring theme in cake decorating communities is that decorators improve through repetition. Not one perfect tutorial. Not one expensive piping kit. Not one "secret" buttercream recipe. Repetition.
Your first cake might have uneven sides, wobbly piping, crooked writing, air bubbles, too much frosting, or not enough frosting. That's normal. Take a photo. Look at what went wrong. Choose one thing to improve next time. Then make another cake.
The 10-minute decorating checklist
Before you start decorating your next cake, ask yourself:
Cake
- Is the cake completely cool?
- Is it chilled enough to handle cleanly?
Buttercream
- Is the consistency right for the job?
- Have I removed excessive air bubbles?
- Is the frosting getting too warm?
Tools
- Is my turntable stable?
- Do I have my scraper and offset spatula ready?
- Is my piping bag filled to a manageable level?
Technique
- Have I crumb coated the cake?
- Am I applying enough frosting before scraping?
- Am I controlling piping pressure instead of just moving the tip?
Timing
- Have I allowed enough time to chill the cake between stages?
That last question is often the difference between "Why isn't this working?" and "That actually looks good."
The real secret to better cake decorating
After reading through the advice shared by home bakers and decorators, there isn't one magical trick. There is a pattern:
❄️ Cold cake. 🧈 Correct buttercream consistency. 🫧 Fewer air bubbles. ✋ Controlled pressure. 🪄 A good scraper. ⏳ A little patience. 🔁 Lots of practice.
And perhaps the most reassuring lesson is this: you don't need your next cake to look professional. You just need it to look better than your last one. Because every smooth edge, cleaner shell, better flower and more confident piping movement comes from the cakes you made before it.
So don't wait until you have the perfect tools. Make the cake. Decorate it. Take the photo. Find the one thing you want to improve. Then make the next one. 🎂
What Reddit bakers taught us: this article is a synthesis of recurring advice shared by members of the baking and cake-decorating communities. Individual techniques can behave differently depending on the buttercream recipe, cake type, room temperature and tools used, so treat these as practical community-tested suggestions rather than universal rules.