
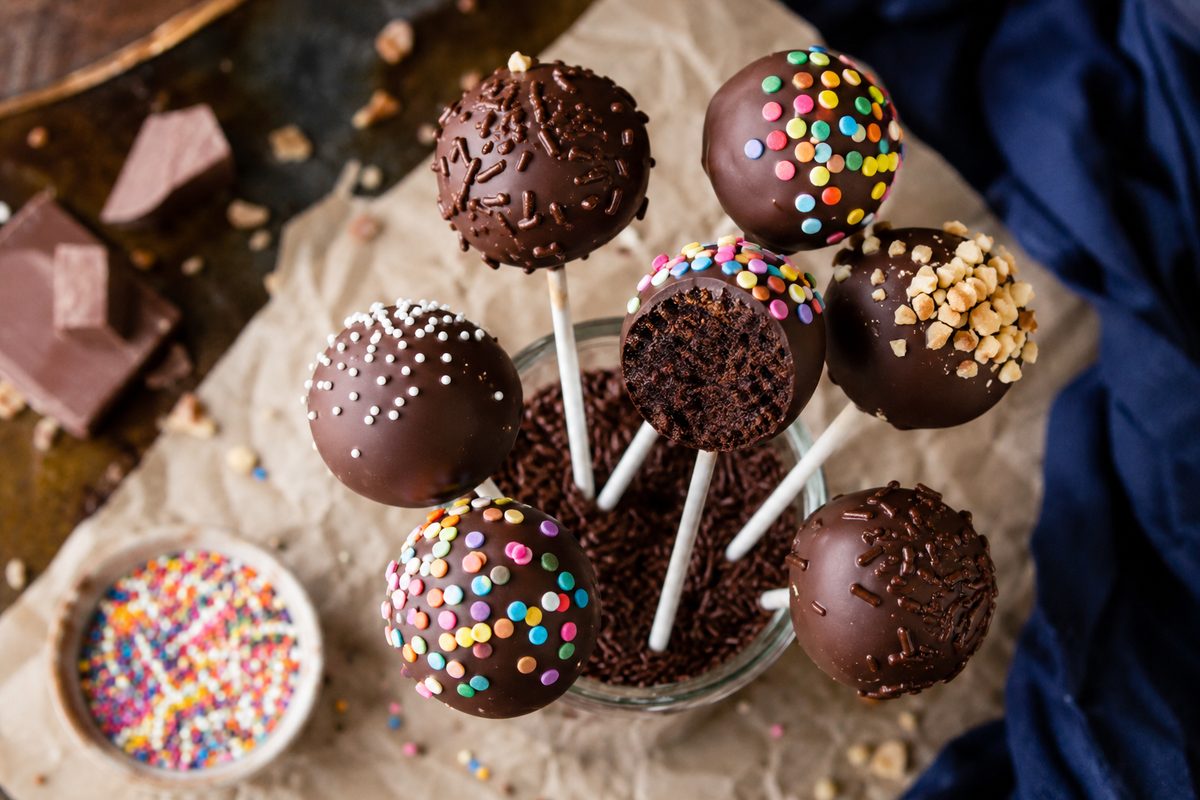
Cake pops look fiddly, but they're really just cake, frosting, and a bit of patience on a stick. Master a reliable chocolate version and you've got a bite-sized product that sells beautifully — for party favours, dessert tables, gift boxes, or as a cute add-on to a bigger order. Here's a beginner-friendly recipe, plus the small fixes that stop cake pops from cracking and wobbling off the stick.
Why cake pops are worth adding to your menu
For a home baker, cake pops punch above their weight:
- They use what you already have. Offcuts and trimmings from other cakes can become cake pops instead of going to waste.
- They're an easy upsell. A box of matching cake pops alongside a birthday cake adds value — and revenue — without a whole new bake.
- They travel and gift well. Wrapped individually, they're perfect return gifts and dessert-table pieces.
- They're endlessly customisable. Change the coating colour and sprinkles to match any theme.
What you'll need
For the chocolate cake
| Ingredient | Quantity |
|---|---|
| All-purpose flour (maida) | 1 cup (125g) |
| Granulated sugar | 1 cup (200g) |
| Unsweetened cocoa powder | 6 tbsp (32g) |
| Baking soda | ½ tsp |
| Salt | ¼ tsp |
| Oil | ½ cup (120ml) |
| Eggs | 2 large |
| Vanilla extract | 1 tsp |
| Hot water | ½ cup (120ml) |
For the chocolate frosting (the "glue")
| Ingredient | Quantity |
|---|---|
| Softened butter | 6 tbsp (85g) |
| Confectioners' (icing) sugar | ¾ cup (90g) |
| Cocoa powder | ½ cup (41g) |
| Heavy cream or milk | 2–3 tsp |
| Vanilla extract | ½ tsp |
For coating & finishing
| Item | Quantity |
|---|---|
| Candy melts or chocolate | 24 oz (680g) |
| Sprinkles | to decorate |
Tools
- A 9-inch round, square, or springform pan
- Electric mixer
- A tall glass or 2-cup measuring jug (for dipping)
- Lollipop sticks
- Baking sheets lined with parchment
- A styrofoam block or a box with holes, to stand the pops upright while they set
How to make them, step by step
- Bake the cake. Mix the dry and wet ingredients, stir in the hot water last (it makes the batter thin — that's correct), and bake at 350°F / 180°C for about 25–27 minutes. Cool completely.
- Make the frosting. Beat the butter, cocoa, and icing sugar together, loosening with a little cream or milk until smooth.
- Crumble and mix. Break the cooled cake into fine crumbs and mix in the frosting a little at a time until the mixture just holds together when pressed — like soft dough.
- Roll. Portion about 1 tablespoon (20g) per ball and roll smooth. This batch makes roughly 40 pops.
- Chill. Refrigerate the balls for about 2 hours (or freeze for 1 hour) so they firm up before dipping.
- Melt the coating. Gently melt the candy melts or chocolate in a tall jug, and let it cool for about 5 minutes so it's not piping hot.
- Attach the sticks. Dip about ½ inch of a stick into the coating, then push it halfway into a chilled ball. The set coating acts like glue.
- Dip. Submerge the whole ball in one smooth motion, lift, and let the excess drip off. Tap gently to help it run clear.
- Decorate. Add sprinkles while the coating is still wet, then stand the pop upright in the styrofoam to set.
The fixes for the classic cake-pop problems
Almost every cake-pop disaster comes down to one of these — and each has a simple fix.
They keep falling off the stick
Two culprits: the ball is too big and heavy, or the stick isn't anchored. Keep each ball to about a tablespoon, and always dip the stick end in coating before inserting it so it sets like glue inside.
The coating cracks
This is usually a temperature clash — a very cold ball meeting hot coating. Let the melted coating cool for a few minutes first, and don't freeze the balls rock-solid; well-chilled is enough.
They turn out greasy or wet
Too much frosting. You need only enough to bind the crumbs into a soft dough — add it gradually and stop as soon as the mixture holds a shape.
💡 The golden rule: keep the balls cold and the coating just-warm. Most cracking and sliding disappears the moment those two temperatures are under control.
Make-ahead & storage (a home baker's best friend)
Cake pops are wonderfully order-friendly because they can be prepped in stages:
- Bake the cake a day ahead.
- Freeze the un-dipped rolled balls for up to several weeks — perfect for prepping ahead of a busy order week.
- Once dipped and set, finished pops keep for a few days; store them cool and out of direct heat so the coating stays crisp.
Selling cake pops by the dozen? Track every box.
Little products mean lots of little orders — quantities, colours, delivery dates, advances. HomeBakely keeps them all in one place so nothing slips between the cracks.
Pricing your cake pops
Because they're small, it's tempting to price cake pops cheaply — don't. The dipping, decorating, and individual wrapping take real time, and time is your biggest cost. Add up your ingredients, coating, sticks, and packaging per pop, then price for your effort on top. Sell in sets (a box of 6, 10, or 12) rather than singles so the order value makes the work worthwhile. Our cake pricing guide walks through the exact method.
The takeaway
Chocolate cake pops reward patience more than skill. Get the two temperatures right — cold balls, just-warm coating — anchor your sticks, and go easy on the frosting, and you'll turn out neat, glossy pops that photograph beautifully and sell in bundles. Start with one reliable chocolate version, then have fun with colours and sprinkles for every theme that comes your way. 🍭
📖 Recipe credit: the quantities and method here are adapted for home bakers from the chocolate cake pops recipe at Sally's Baking Addiction — head there for the full original recipe and step photos.